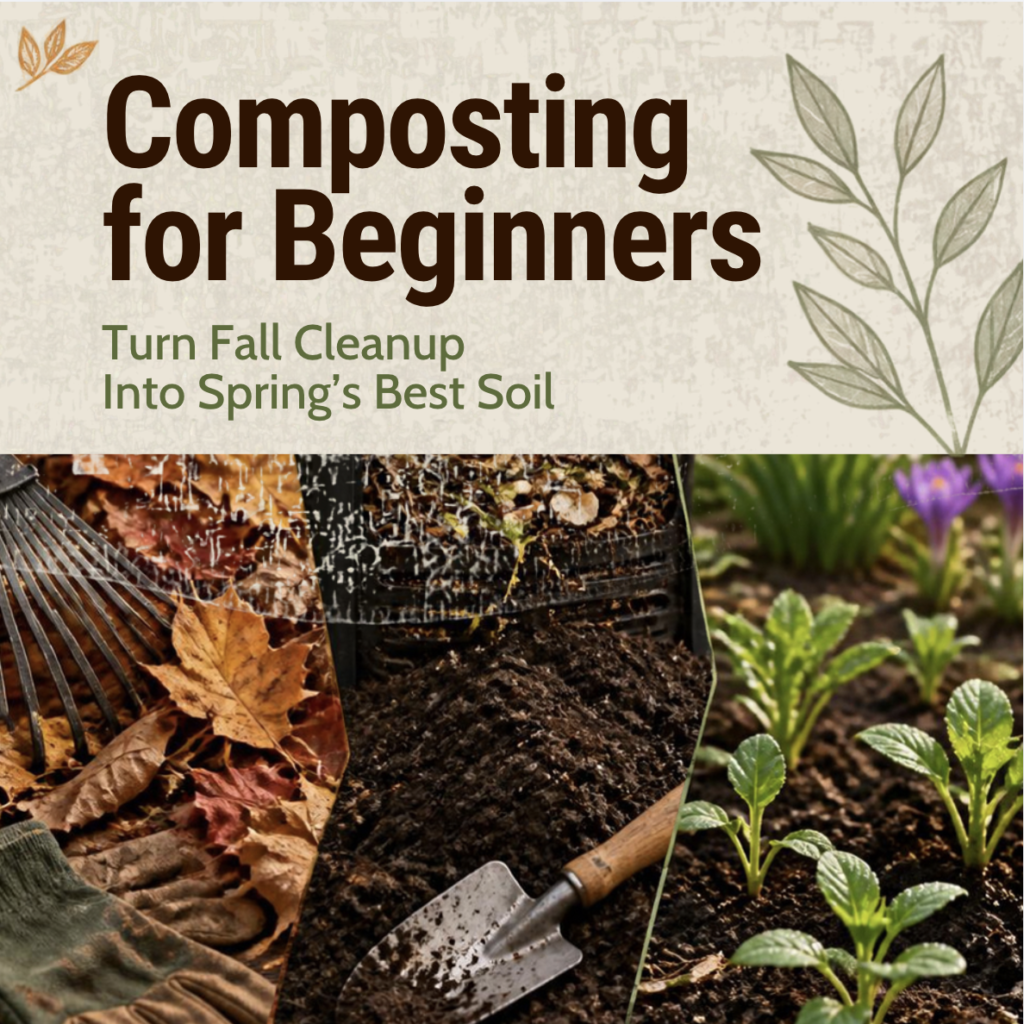
Composting for Beginners: Turn Fall Cleanup Into Spring’s Best Soil
Fall cleanup can feel like the end of the gardening season. The vegetable plants are finished, leaves are piling up, flowers are fading, and garden beds are ready to be put to sleep for winter. But before you fill bags with leaves, haul away plant debris, or send everything to the curb, consider giving that material another job. Much of what comes out of your yard and garden in the fall can become something incredibly valuable by spring: rich, organic compost.
Composting is simply the process of allowing organic materials to break down into a dark, crumbly material that can be returned to your soil. You don’t need an elaborate composting system, expensive equipment, or years of gardening experience to get started. Fall is actually one of the easiest times to begin because nature provides an abundance of the ingredients you need.
Instead of thinking of fall cleanup as getting rid of garden waste, think of it as harvesting next year’s soil ingredients.
Why Fall Is a Great Time to Start Composting
One of the biggest challenges new composters face is finding enough material to build a pile. During fall, that problem practically solves itself. Fallen leaves, spent annuals, vegetable garden debris, grass clippings, small plant trimmings, and kitchen scraps can all contribute to a compost pile.
Leaves are particularly valuable because they provide a large supply of carbon-rich material. Rather than bagging every leaf that falls onto your property, save some for composting. Even if you don’t have enough nitrogen-rich material to use all those leaves immediately, dry leaves can be stored in bags or containers and added to your compost throughout the winter and following spring.
Starting your pile in fall also gives microorganisms months to begin breaking everything down. Composting may slow considerably when temperatures drop, particularly in colder climates, but the process doesn’t necessarily stop forever. Once warmer spring temperatures return, microbial activity increases and decomposition speeds back up.
That means the pile you start during October cleanup may already be well on its way toward becoming useful compost when you’re preparing garden beds in spring.
Composting Doesn’t Have to Be Complicated
If you’ve researched composting before, you may have encountered precise ratios, temperature recommendations, specialized bins, compost thermometers, turning schedules, and long lists of rules. Those techniques can certainly help you create compost more efficiently, but beginners don’t need to master everything before tossing their first handful of leaves into a pile.
At its simplest, composting requires organic material, moisture, oxygen, and microorganisms.
Your job is primarily to create an environment where decomposers can do what they naturally do. Bacteria, fungi, insects, worms, and other organisms gradually break larger pieces of organic matter into smaller and smaller components.
You aren’t actually “making” compost as much as you’re creating good conditions for decomposition.
And nature has been doing that successfully for a very long time.
Understanding Browns and Greens
Most beginner composting advice divides ingredients into two categories: browns and greens. These names don’t necessarily refer to the actual color of the material. They describe whether an ingredient primarily contributes carbon or nitrogen to the composting process.
Brown materials are generally higher in carbon. Fall leaves are probably the easiest example, but browns can also include small twigs, shredded cardboard, untreated paper, dried plant material, straw, and other dry organic matter.
Green materials generally contain more nitrogen. Examples include fresh grass clippings, vegetable scraps, fruit scraps, coffee grounds, fresh garden plants, and other moist plant material.
Microorganisms need both carbon and nitrogen. A pile containing almost nothing but dry leaves may eventually break down, but decomposition can be very slow. On the other hand, a pile containing mostly wet grass clippings and food scraps can become compacted, slimy, and unpleasant-smelling.
Combining the two creates a better environment for decomposition.
You don’t have to stand outside measuring every ingredient. For a beginner compost pile, simply aim for considerably more brown material than green material by volume. A useful starting point is roughly two to three containers of loose brown material for every container of green material. Don’t worry about making the ratio perfect. You can adjust the pile based on how it behaves.
What Can Go Into Your Fall Compost Pile?
Your fall yard probably contains far more compostable material than you realize.
Fallen leaves can form the foundation of your pile. Spent vegetable plants, annual flowers, healthy plant trimmings, old potting soil, grass clippings, small amounts of pine needles, and finely chopped garden debris can all be incorporated.
You can continue adding household materials throughout fall and winter as well. Fruit and vegetable scraps, coffee grounds, coffee filters made from compostable paper, tea leaves, crushed eggshells, shredded non-glossy paper, and plain uncoated cardboard can help keep organic material out of the trash while feeding your compost pile.
Breaking larger materials into smaller pieces helps them decompose more quickly because microorganisms have more surface area to work on. You don’t need to pulverize everything, but running a mower over fallen leaves or chopping thick garden stalks into smaller pieces can noticeably speed up the process.
What Should Stay Out of Your Compost?
Not everything organic belongs in a typical backyard compost pile.
For a simple home composting system, avoid meat, fish, bones, dairy products, grease, oils, and heavily processed foods. These materials can create odors and attract unwanted animals. Pet waste from dogs and cats should also stay out of compost that may eventually be used around vegetables or edible plants.
Be cautious with diseased plants as well. A properly managed hot compost pile may reach temperatures capable of destroying certain pathogens and weed seeds, but many backyard piles never maintain those temperatures consistently. If a plant experienced a significant disease problem during the growing season, disposing of it separately may be safer than returning the problem to your garden.
Likewise, avoid adding weeds that have already produced large quantities of mature seeds unless you’re confident your compost reaches sufficiently high temperatures.
Don’t Throw Away Those Fall Leaves
Leaves deserve special attention because they are one of the best free gardening resources available.
A thick layer of whole leaves can become compacted and slow decomposition, particularly when wet. Shredding them first helps tremendously. One of the easiest methods is simply running over a pile of leaves with your lawn mower. A mower with a collection bag can shred and collect them simultaneously.
You can then add the shredded leaves directly to your compost pile, use some as mulch around garden beds, or store extras for later.
Keeping a supply of dry leaves is especially useful because kitchen scraps continue appearing long after fall cleanup ends. Every time you add a container of vegetable scraps or coffee grounds to your compost pile during winter or spring, you can cover them with stored leaves.
This also helps reduce odors and keeps exposed food scraps from attracting pests.
Building Your First Fall Compost Pile
You don’t need a fancy container. A simple pile in a suitable corner of your yard can work, although compost bins help keep materials contained and can make the area look tidier.
Start with a loose layer of coarse brown material. Small twigs, shredded leaves, or rough plant material can help create small air spaces near the bottom of the pile.
Add additional layers of brown and green ingredients as materials become available. Instead of creating perfectly distinct layers, think of the goal as eventually creating a mixture. You can lightly mix materials together as you build the pile.
If you’re cleaning out the vegetable garden, you might add chopped plant debris, cover it with shredded leaves, add grass clippings, and then add another layer of leaves.
Continue building until you’ve used the material available to you.
A larger pile generally retains heat better than a tiny pile, but don’t let that stop you from composting if you have a smaller yard. Small piles can still decompose; they may simply take longer.
Moisture Matters More Than Many Beginners Realize
Microorganisms responsible for decomposition need moisture. If your compost pile becomes completely dry, decomposition slows dramatically. However, soaking the pile isn’t the answer either.
The classic guideline is to keep compost approximately as damp as a wrung-out sponge.
Grab a handful of material from inside the pile. It should feel moist, but water shouldn’t pour out when you squeeze it.
Fall weather may provide plenty of natural moisture through rain or snow. In dry climates or during long stretches without precipitation, you may need to occasionally add water.
This is particularly important when starting with large amounts of dry fall leaves. Leaves can look wet on the outside while remaining surprisingly dry within the pile.
Add water gradually as you’re building the pile rather than trying to soak an enormous pile afterward.
Why Air Is Important
Composting organisms also need oxygen. When a pile becomes extremely compacted and waterlogged, oxygen can’t circulate properly. Anaerobic microorganisms begin taking over, which is one reason neglected compost piles sometimes develop strong, unpleasant odors.
Turning the pile introduces fresh oxygen and mixes materials together.
You don’t have to turn compost constantly. Turning every week or two can accelerate decomposition during active periods, but a pile that gets turned less frequently will still break down—it will simply take longer.
A garden fork or compost aerator works well for smaller piles. Move material from the outside toward the center while bringing some material from the center outward.
Think of turning as giving your compost pile a reset: redistributing moisture, introducing oxygen, and giving microorganisms access to new material.
What If Your Compost Smells Bad?
Healthy compost usually smells earthy rather than rotten.
If your pile develops a strong odor, don’t assume you’ve failed. The smell is information.
A wet, slimy, foul-smelling pile often contains too much nitrogen-rich material, too much moisture, or not enough oxygen. Add dry leaves, shredded cardboard, or another brown material and turn the pile to introduce air.
If the pile is doing absolutely nothing, it may have the opposite problem. It could be too dry, contain too many browns, or simply be too cold. Add some nitrogen-rich ingredients, check the moisture level, and mix everything together.
Composting is remarkably forgiving. Most problems can be corrected by adjusting moisture, airflow, or the balance of ingredients.
What Happens to Compost During Winter?
New composters sometimes assume they’ve done something wrong when their pile seems to stop working during winter.
Cold weather naturally slows microbial activity. In regions with freezing winters, the outer portions of a compost pile may freeze completely. A large pile may continue decomposing internally for some time, but eventually activity can slow substantially.
That’s okay.
You don’t need to keep your compost pile hot throughout the entire winter to be successful.
Continue adding kitchen scraps if your composting system allows it, covering fresh additions with leaves or other brown material. When temperatures begin rising again in spring, microorganisms become more active and decomposition resumes.
Winter is less of an ending and more of a pause button.
Where That Yucca Stuff Can Fit Into Your Soil-Building Routine
Compost and soil conditioners don’t have to compete with each other. They address different parts of soil care.
Finished compost contributes decomposed organic matter and helps support the physical and biological characteristics of garden soil. A yucca-based soil conditioner such as That Yucca Stuff™ can be incorporated into a broader soil-care routine when you’re working on water movement and moisture distribution.
That Yucca Stuff contains Yucca schidigera, a plant naturally rich in compounds called saponins. Yucca-derived products are commonly used as natural wetting agents because saponins can help reduce the surface tension of water, allowing water to spread through growing media more effectively.
This can be particularly useful when dealing with soil or potting mixes that have become very dry and resist absorbing water evenly.
Rather than thinking of any one amendment as the solution to healthy soil, think in terms of building a complete soil system. Compost provides organic material. Mulch protects the surface. Plant roots contribute biological activity. Proper watering supplies moisture. Soil conditioners can help water move through the growing environment.
Healthy soil usually comes from several good practices working together.
Find That Yucca Stuff™ HERE or on Amazon
Compost Isn’t Fertilizer—And That’s Okay
One common misconception is that compost should replace every fertilizer or amendment in the garden.
Compost certainly contains nutrients, but its greatest value often comes from what it does for the soil itself. Adding organic matter can improve soil structure, support beneficial organisms, increase water-holding capacity in some soils, and improve the overall growing environment around plant roots.
That means you shouldn’t necessarily judge your compost based on whether it produces an immediate burst of plant growth.
Think longer-term.
Every season you return organic matter to the soil, you’re participating in a cycle instead of continually removing material from your garden.
Plants grow from the soil. Leaves fall. Gardens are harvested. Organic material decomposes. Those materials eventually return to the soil and support another generation of plants.
Composting simply helps us participate in that natural cycle intentionally.
How to Know When Your Compost Is Finished
Finished compost should look dramatically different from the ingredients you originally added.
Instead of seeing recognizable lettuce leaves, grass clippings, and piles of autumn leaves, you’ll see dark, crumbly material with an earthy smell. Some tougher materials—small sticks, avocado pits, thick stems, or pieces of woody material—may still be visible. You can remove those pieces and put them into the next compost batch.
If you can still identify most of the original ingredients, the pile isn’t finished yet.
You can also allow compost to “cure” after the most active decomposition period has ended. Letting it sit for several additional weeks allows biological activity to stabilize before you add it to garden beds.
Composting isn’t an exact countdown. Temperature, moisture, ingredient size, pile size, climate, and how frequently you turn the pile can all affect how quickly finished compost develops.
How to Use Your Compost in Spring
When spring arrives, finished compost can be used throughout your garden.
Spread a layer across established garden beds and gently incorporate it into the upper portion of the soil if appropriate for your gardening method. You can also top-dress around perennial plants, shrubs, vegetables, and flowers.
Compost can be particularly useful when preparing beds that grew heavy-feeding crops the previous season. Instead of beginning every spring with bare, depleted soil, you’re returning some of the organic material your garden produced the year before.
For container gardening, finished compost can be incorporated as one component of a suitable potting mixture rather than using pure compost as the entire growing medium. Containers have different drainage and aeration requirements than in-ground gardens, so a balanced growing mix remains important.
You can also use finished compost beneath mulch. Compost contributes organic matter near the soil surface while mulch provides a protective layer that helps reduce evaporation, moderate temperature fluctuations, and suppress weeds.
Start Small If Composting Feels Overwhelming
You don’t need to compost everything your household produces.
Start with leaves and vegetable scraps.
That’s enough.
Set aside one area for a compost pile or purchase a basic compost bin. Collect some fall leaves. Add vegetable scraps and coffee grounds. Keep a pile or bag of dry leaves nearby so you can add them whenever the pile becomes too wet.
Pay attention to what happens.
If it’s dry, add moisture.
If it’s soggy, add browns and air.
If it smells, turn it and add dry material.
If it’s slowly turning into dark, crumbly material, keep going.
You’ll learn far more by maintaining one imperfect compost pile than by reading about the perfect compost pile and never starting one.
This Fall’s Cleanup Can Feed Next Spring’s Garden
There is something satisfying about watching the remains of one growing season become the foundation of another.
The tomato vines that finished producing, the leaves that covered your lawn, the pumpkins left after fall decorating, and the vegetable scraps from your kitchen don’t necessarily have to become waste. With a little time, moisture, oxygen, and biological activity, much of that material can become something your garden can use again.
So this fall, before you bag everything up and send it away, look at your yard differently.
That pile of leaves isn’t necessarily a mess.
It might be next spring’s soil.
And once you start thinking about fall cleanup as collecting ingredients for next year’s garden, composting stops feeling like another chore and starts feeling like one of the smartest ways to prepare for the growing season ahead.